
You are currently browsing the category archive for the ‘Recipes’ category.
by Leslie Walker with Deb Shaw

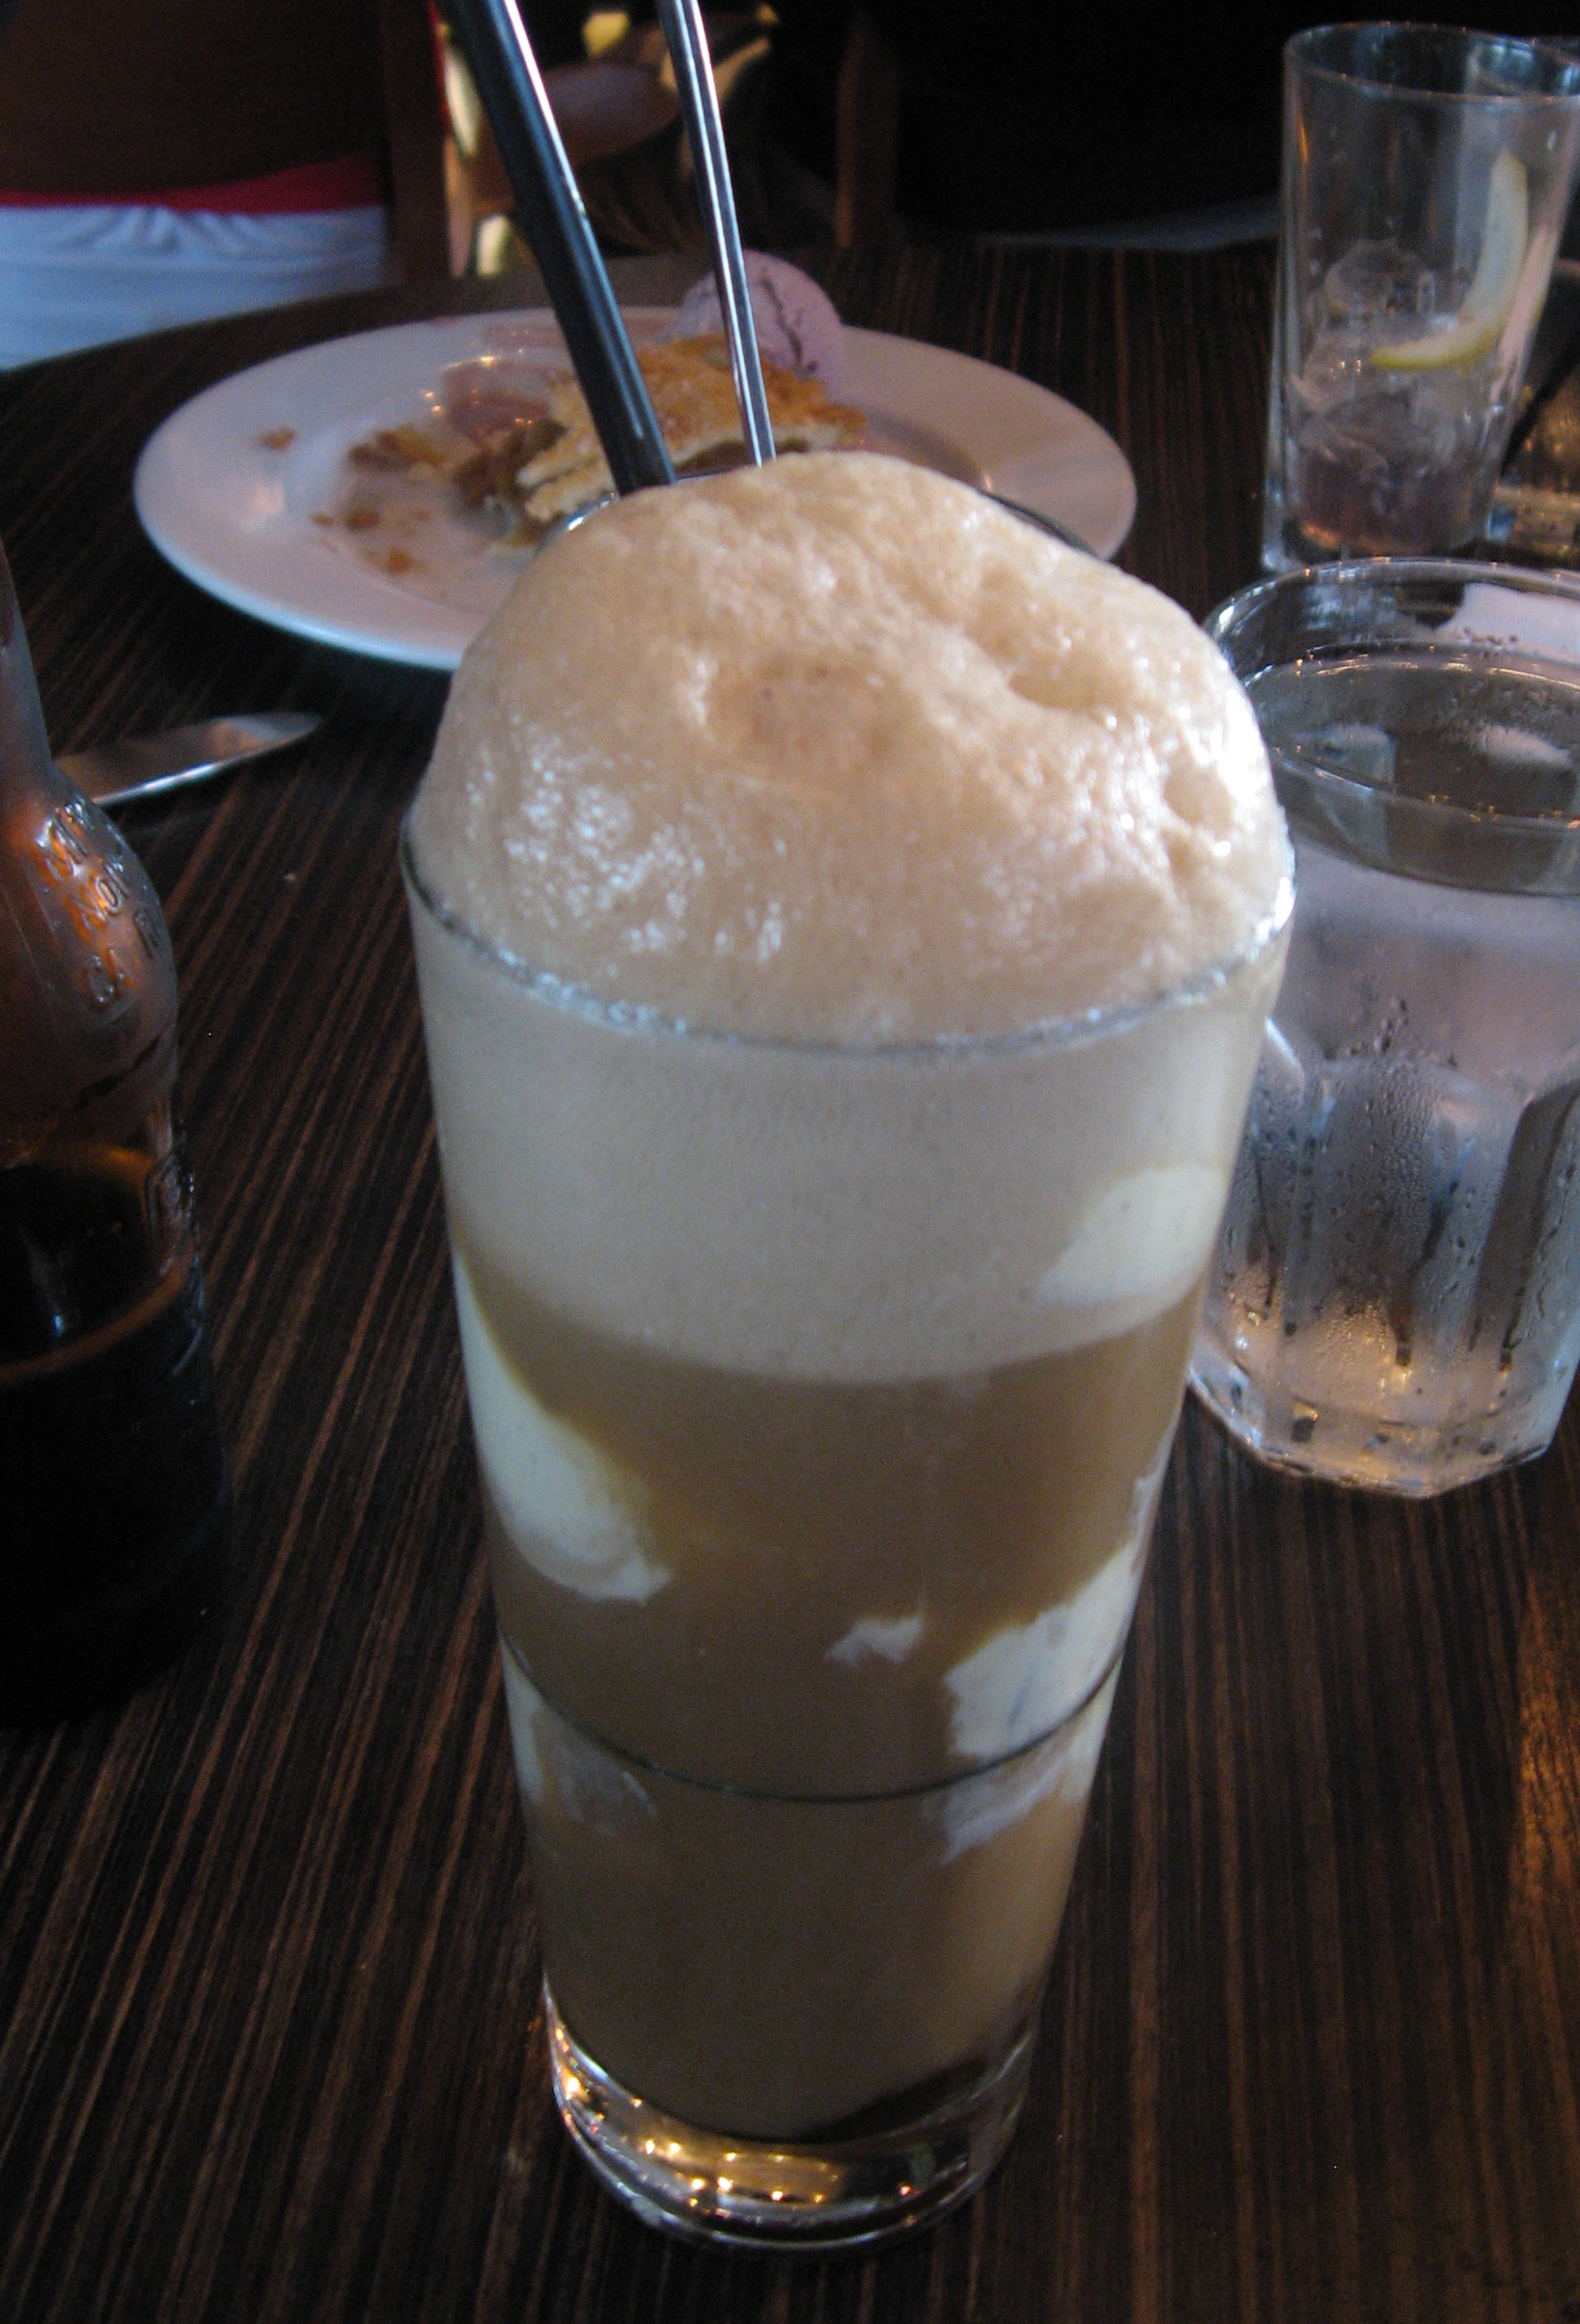
Chocolate shake from St Francis Fountain, San Francisco California. By Ann Larie Valentine, Wikimedia Commons, https://commons.wikimedia.org/wiki/File%3AChocolate_shake_from _St_Francis_Fountain.jpg
Leslie Walker alerted me today that every September 12th is National Chocolate Milkshake Day! Apparently, the holiday dates from 1885, although a quick internet search did not reveal anything about the origins.
Chocolate Milkshakes were created as an alcoholic drink served in bars. In addition to the chocolate, the recipe called for whisky, eggs and cream. By 1900, the whisky had been replaced, and the drink could move out of the bar and into the general population.
If you need a break from painting, Wikipedia has a list of all the designated “food days” from around the world, listed by country (of course!). There are some that are pretty crazy. If you are avoiding dairy but love chocolate, you could have a coconut milk chocolate shake, or, you could wait until tomorrow, September 13, which is International Chocolate Day.
Happy painting!
by Deb Shaw
By Arnold Gatilao – originally posted to Flickr as Root Beer Float, CC BY 2.0, https://commons.wikimedia.org/w/index.php?curid=5644549
I know, it has nothing to do with botanical art, but it’s been so hot and humid, that I felt duty-bound to let you know that today, Saturday, August 6 is National Root Beer Float Day.
A Root Beer Float might be a refreshing incentive to keep working on your art. I usually have tissue down to protect the areas of my artwork, and I wear light cotton gloves with the fingers cut off. It’s been so sticky and humid, however, that I’m now also laying a folded cotton tea towel under my arm and hand.
Add your tips to working in hot, humid, sticky weather in the comments section please. And enjoy a Root Beer Float and your art!
by Janice Sharp, posted by Deb Shaw
It’s the end of Summer, but it’s still hot here in Southern California. By popular demand, we’re posting Janice’s easy frozen treats:
1/3 cup maple syrup
1/3 cup plant-based milk (almond, soy or rice)
1/3 cup cocoa powder
2 teaspoons vanilla
2 ripe bananas
2 cups oatmeal (old fashioned)
Grape-Nuts
1. Puree maple syrup, milk, vanilla, cocoa powder, and bananas. Transfer to a mixing bowl. Add oatmeal and mix well.
2. Place a thin layer of Grape-Nuts in ice-cube trays (about 1.5 trays). Place the mixture in the trays and add another layer of Grape-Nuts on the top.
3. Freeze. After the treats are frozen pop them out of the trays and place them in a container. Store in the freezer.
Enjoy while taking a break from painting!
by Deborah Shaw/Bonnie Born Ash
Last year Bonnie and Nicolas brought a fantastic Stilton and Walnut Pie to the BAGSC Holiday Party. This fabulous treat will be joining us at the 2010 BAGSC Holiday Party too! (Can’t wait.) Here’s the recipe:
Pastry for double 9” crust – your favorite recipe
For the filling –
2 eggs (or 3 if you glaze crust)
12 oz. cream cheese
Small bunch parsley, chopped
6 oz. Stilton, rind removed
6 oz. Walnuts, chopped
1 small onion, finely chopped
Salt and pepper
A little oil for frying
Preheat oven to 375 degrees.
Peel and finely chop the onion and sauté it in a little oil until just softened. Set aside to cool. Beat 2 eggs well, then mix in cream cheese, chopped parsley, salt and pepper to taste, and blend until smooth. Add the sautéed onion, the grated or crumbled Stilton, and well-chopped walnuts and blend well.
Line a 9” pie or tart pan with half the pastry. Smooth the cheesy filling into this. Roll out remaining pastry to make a lid, and seal it with a little water around the edges. Any pastry trimmings can be made into leaves or shapes to decorate the top, and fix these in place with a little beaten egg. Brush the rest of the beaten egg over the top of the pie to give a nice glazed finish. Bake for 45 minutes, and allow to the pie to cool before lifting out of the pan.
It was a great BAGSC meeting—watch for additional information to be sent in the minutes and posted to the blog. In the meantime, Joan Keesey and Rita Hopper supplied their recipes. In her email with the recipe, Joan wrote that it was “really interesting hearing about Dick Rauh who is an amazing and inspiring individual, not to mention friendly and accessible as well–a great person to have as the ASBA president. I have attached the salad recipe for the blog along with some notes about the differences between the potato, sweet potato, and yam keeping in the spirit of the class on Plant Morphology that we just took.”
“Botanical Cooking”
by Joan Keesey
Notes on the Sweet Potato with respect to the terrific class on Plant Morphology taught by Dick Rauh.
The sweet potato is neither a potato nor a yam. The sweet potato is the swollen stem tip of the Ipomoea batatas, a member of the morning glory family, CONVOLUACEAE. It is native to northern South America.
The sweet potato and the potato are tubers, stem modifications that swell with stored starch and water and as a stem bears primordial buds, the “eyes,” that generate the stem and roots of the new plant. Potatoes are members of the family, SOLANACEAE, which includes tomatoes, chili, and tobacco, all indigenous to moist, cool regions of Central and South America.
True yams are starchy tubers of tropical plants in the DISCOREACEAE family. The family is related to the grasses and lilies. There are a dozen or so cultivated species of Discorea from Africa, South America and the Pacific. They are seldom seen in mainstream American markets where a “yam” means a sugary orange sweet potato. True yams can grow up to as much as 100 lb.; in the Pacific islands true yams have been honored with their own little houses.
From “On Food and Cooking” by Harold McGee, Scribner, 2004.
_________________________________________________________________________________
Roasted Sweet Potato Salad with Black Beans and Chili Dressing
From the NY Times column, The Minimalist, by Mark Bittman
4 medium sweet potatoes, peeled and cut into 1 inch chunks
1 large red onion, chopped
½ cup olive oil
Heat oven to 400 degrees. Toss sweet potatoes and onions with 2 tablespoons of the oil and spread on a baking sheet. Sprinkle with salt and pepper and roast, turning occasionally until potatoes begin to brown on corners and are just tender—about 20-30 minutes. Remove from oven.
1-2 tablespoons of seeded and minced fresh hot chili, like serrano or jalapeno
1 clove of garlic, peeled and minced
Juice of 2 limes
Remaining olive oil
Put chilies, garlic, lime juice and remaining oil in blender or mini food processor. Process until blended.
2 cups cooked or canned black beans
1 red, yellow or green pepper, seeded and finely diced
1 cup of cilantro leaves, whole or chopped
Combine warm vegetables with beans, bell pepper, dressing and cilantro. Adjust seasoning if necessary. Serve warm or at room temperatures or refrigerate for up to a day.
_________________________________________________________________________________
Rita Hopper’s Surprise Salad
(Double recipe for a bundt pan)
1 pkg lemon Jello (small) dissolved in
1C cold water
Juice of 1/2 lemon
Boil together 1/2 cup sugar and 1 cup crushed pineapple. Pour into gelatin and let set until almost jelled. Fold in:
1C whipped cream
1C grated cheddar cheese
1C chopped nuts
Refrigerate until firm.
This is the recipe for the pumpkin that I brought to the BAGSC holiday party. Although by no means low cal, it’s very easy to do and is a dramatic presentation. I’ve also made it with acorn squash and different types of cheeses. It’s on the Gourmet website, and is here as our tribute to Gourmet! Enjoy.
1 (15-inch) piece of baguette, cut into 1/2-inch slices (7 oz total)
1 (7-lb) orange pumpkin (make sure it’s a “sugar” pumpkin for eating, not the jack-o-lantern kind for carving)
1 1/2 cups heavy cream
1 cup reduced-sodium chicken or vegetable broth
1/2 tsp grated nutmeg
2 1/2 cups coarsely grated Gruyère (6 oz)
2 1/2 cups coarsely grated Emmental (6 oz)
1 Tablespoon olive oil
Preheat oven to 450F with rack in lower third.
Toast baguette slices in 1 layer on a baking sheet in oven until tops are crisp (bread will still be pale), about 7 minutes. Transfer to a rack to cool.
Remove top of pumpkin by cutting a circle (3 inches in diameter) around stem with a small sharp knife. Scrape out seeds and any loose fibers from inside pumpkin with a spoon (including top of pumpkin; reserve seeds for another use if desired). Season inside of pumpkin with 1/2 tsp salt.
Whisk together cream, broth, nutmeg, 1 tsp salt, and 1/2 tsp pepper in a bowl. Mix together cheeses in another bowl.
Put a layer of toasted bread in bottom of pumpkin, then cover with about 1 cup cheese and about 1/2 cup cream mixture. Continue layering bread, cheese, and cream mixture until pumpkin is filled to about 1/2 inch from top, using all of cream mixture. (You may have some bread and cheese left over.)
Cover pumpkin with top and put in an oiled small roasting pan. Brush outside of pumpkin all over with olive oil. Bake until pumpkin is tender and filling is puffed, 1 1/4 to 1 1/2 hours.
(as brought to the meeting by Janice)
4 oz box of Reese’s wild rice — cooked (see side of the package)
1 bell pepper-diced
1 bunch scallions-chopped
1 small red onion-diced
8 oz pecan pieces
6 oz Ocean Spray Craisins
1/4 cup rice wine vinegar
1/4 cup olive oil
Mix all the ingredients together and refrigerate overnight. It tastes better if it is made a day ahead.
(submitted by Kathy, from “Frieda’s Fiestas”)
¾ cup sugar (for caramel)
1 quart milk (whole milk is best)
1 cup sugar
1 vanilla bean, split lengthwise
4 egg yolks
6 eggs, slightly beaten
Cook the ¾ cup sugar to caramelize, then pour into earthenware mold or other mold (an 8” cake pan works well) turning it around so that the bottom and sides of the mold are covered with caramel.
Heat milk with the cup of sugar and the vanilla for about 10 minutes. Let cool slightly, then add the egg yolks and beaten eggs. Mix thoroughly. Remove and discard the vanilla bean. Pour the egg mixture into the caramel lined mold.
Place the mold in a larger pan of hot water and bake in a preheated 350˚ oven for about 1 ½ hours or until set (an inserted knife will come out clean). Cool completely before unmolding.
Makes 6-8 servings.
